Artwork Best Practices
From file setup to final submission, these guidelines help you avoid common mistakes and ensure your labels are ready for production. Schedule a call with a representative to get your questions answered.
How to Work with Us
-

File Set Up
Use our Dieline Templates to create a unique file for every label you are designing. Within each dieline are pre-existing layers, that often utilize specific swatches, and are designed to help you avoid delays in production. See further instructions below.
-
Content
It is important to review all copy and content thoroughly for accuracy; including spelling, grammar, punctuation, and state specific compliance. See our helpful content instructions below.
-

Embellishments
Ready to elevate your labels or flexible packaging with CalyxFX? Whether you’re going for peel & reveal, bold metallic foils, or tactile varnishes, our guidelines make it easy to set up your file. (See Embellishment FAQ below.)
-
Submitting
All files must be submitted via Adobe Illustrator or PDF including a zip file of all assets (vector images, outlined text etc). Find out more info in Prepare to send FAQ bellow.


Understanding your Illustrator file:
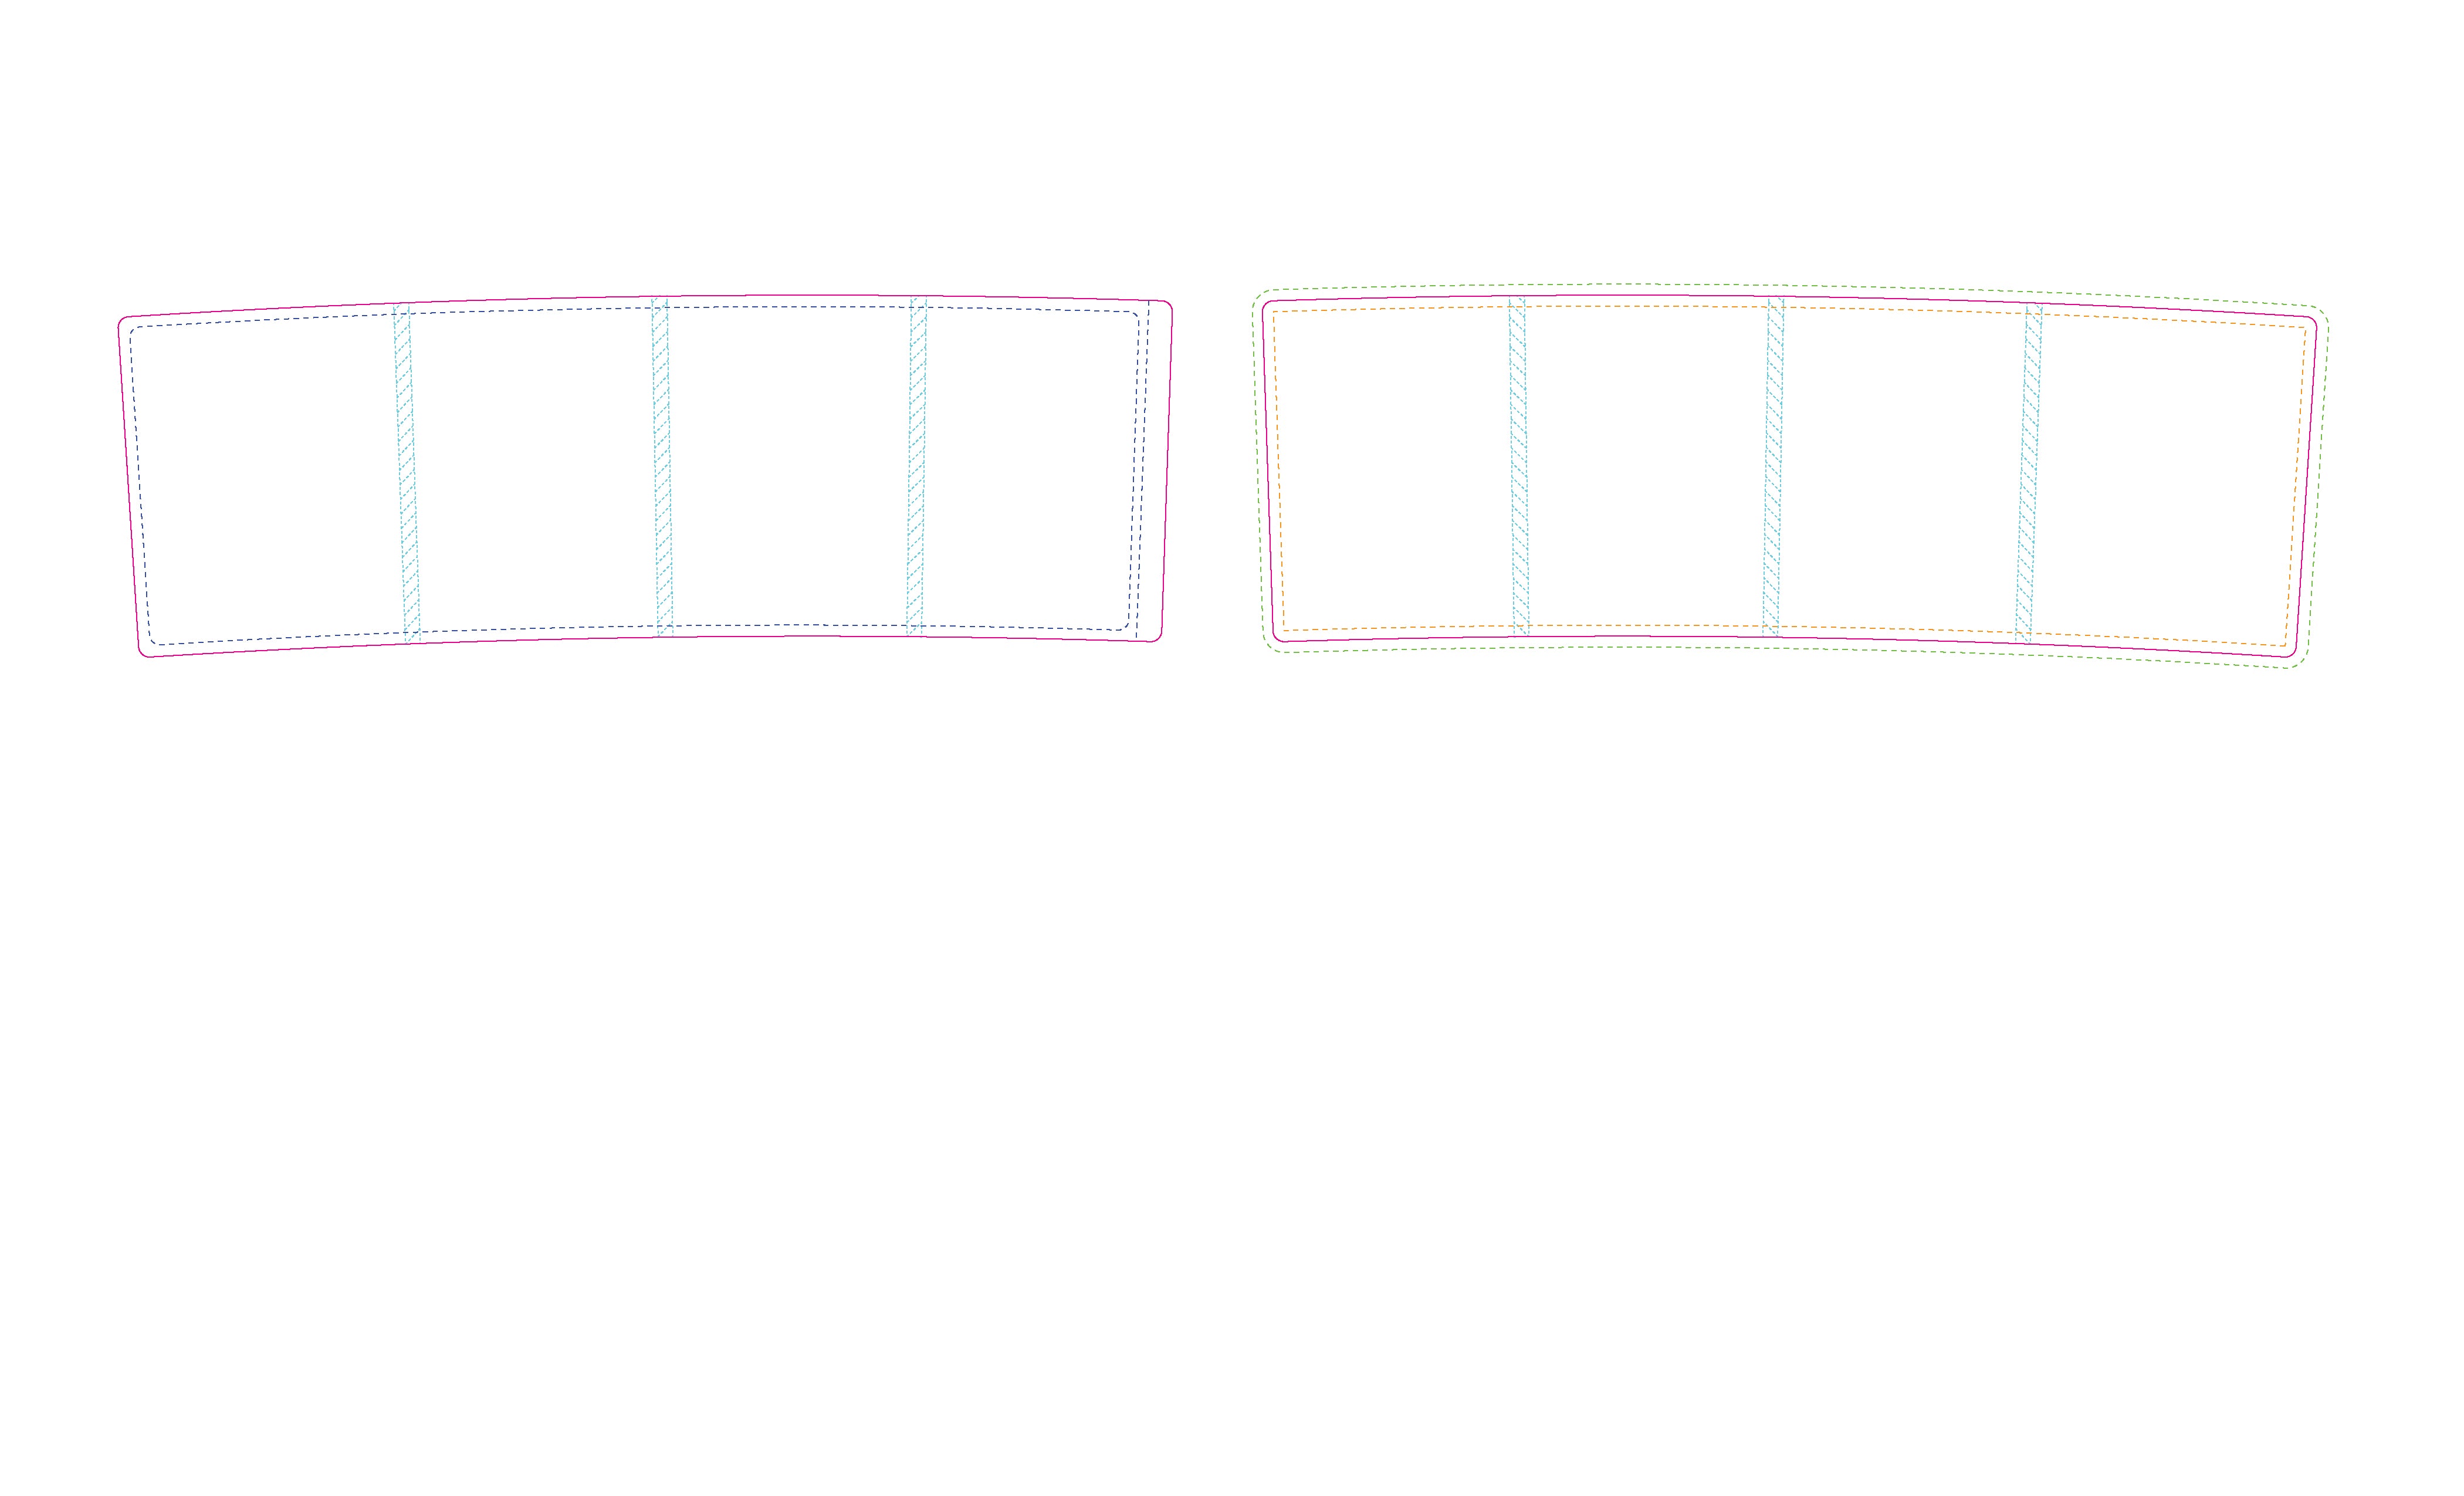
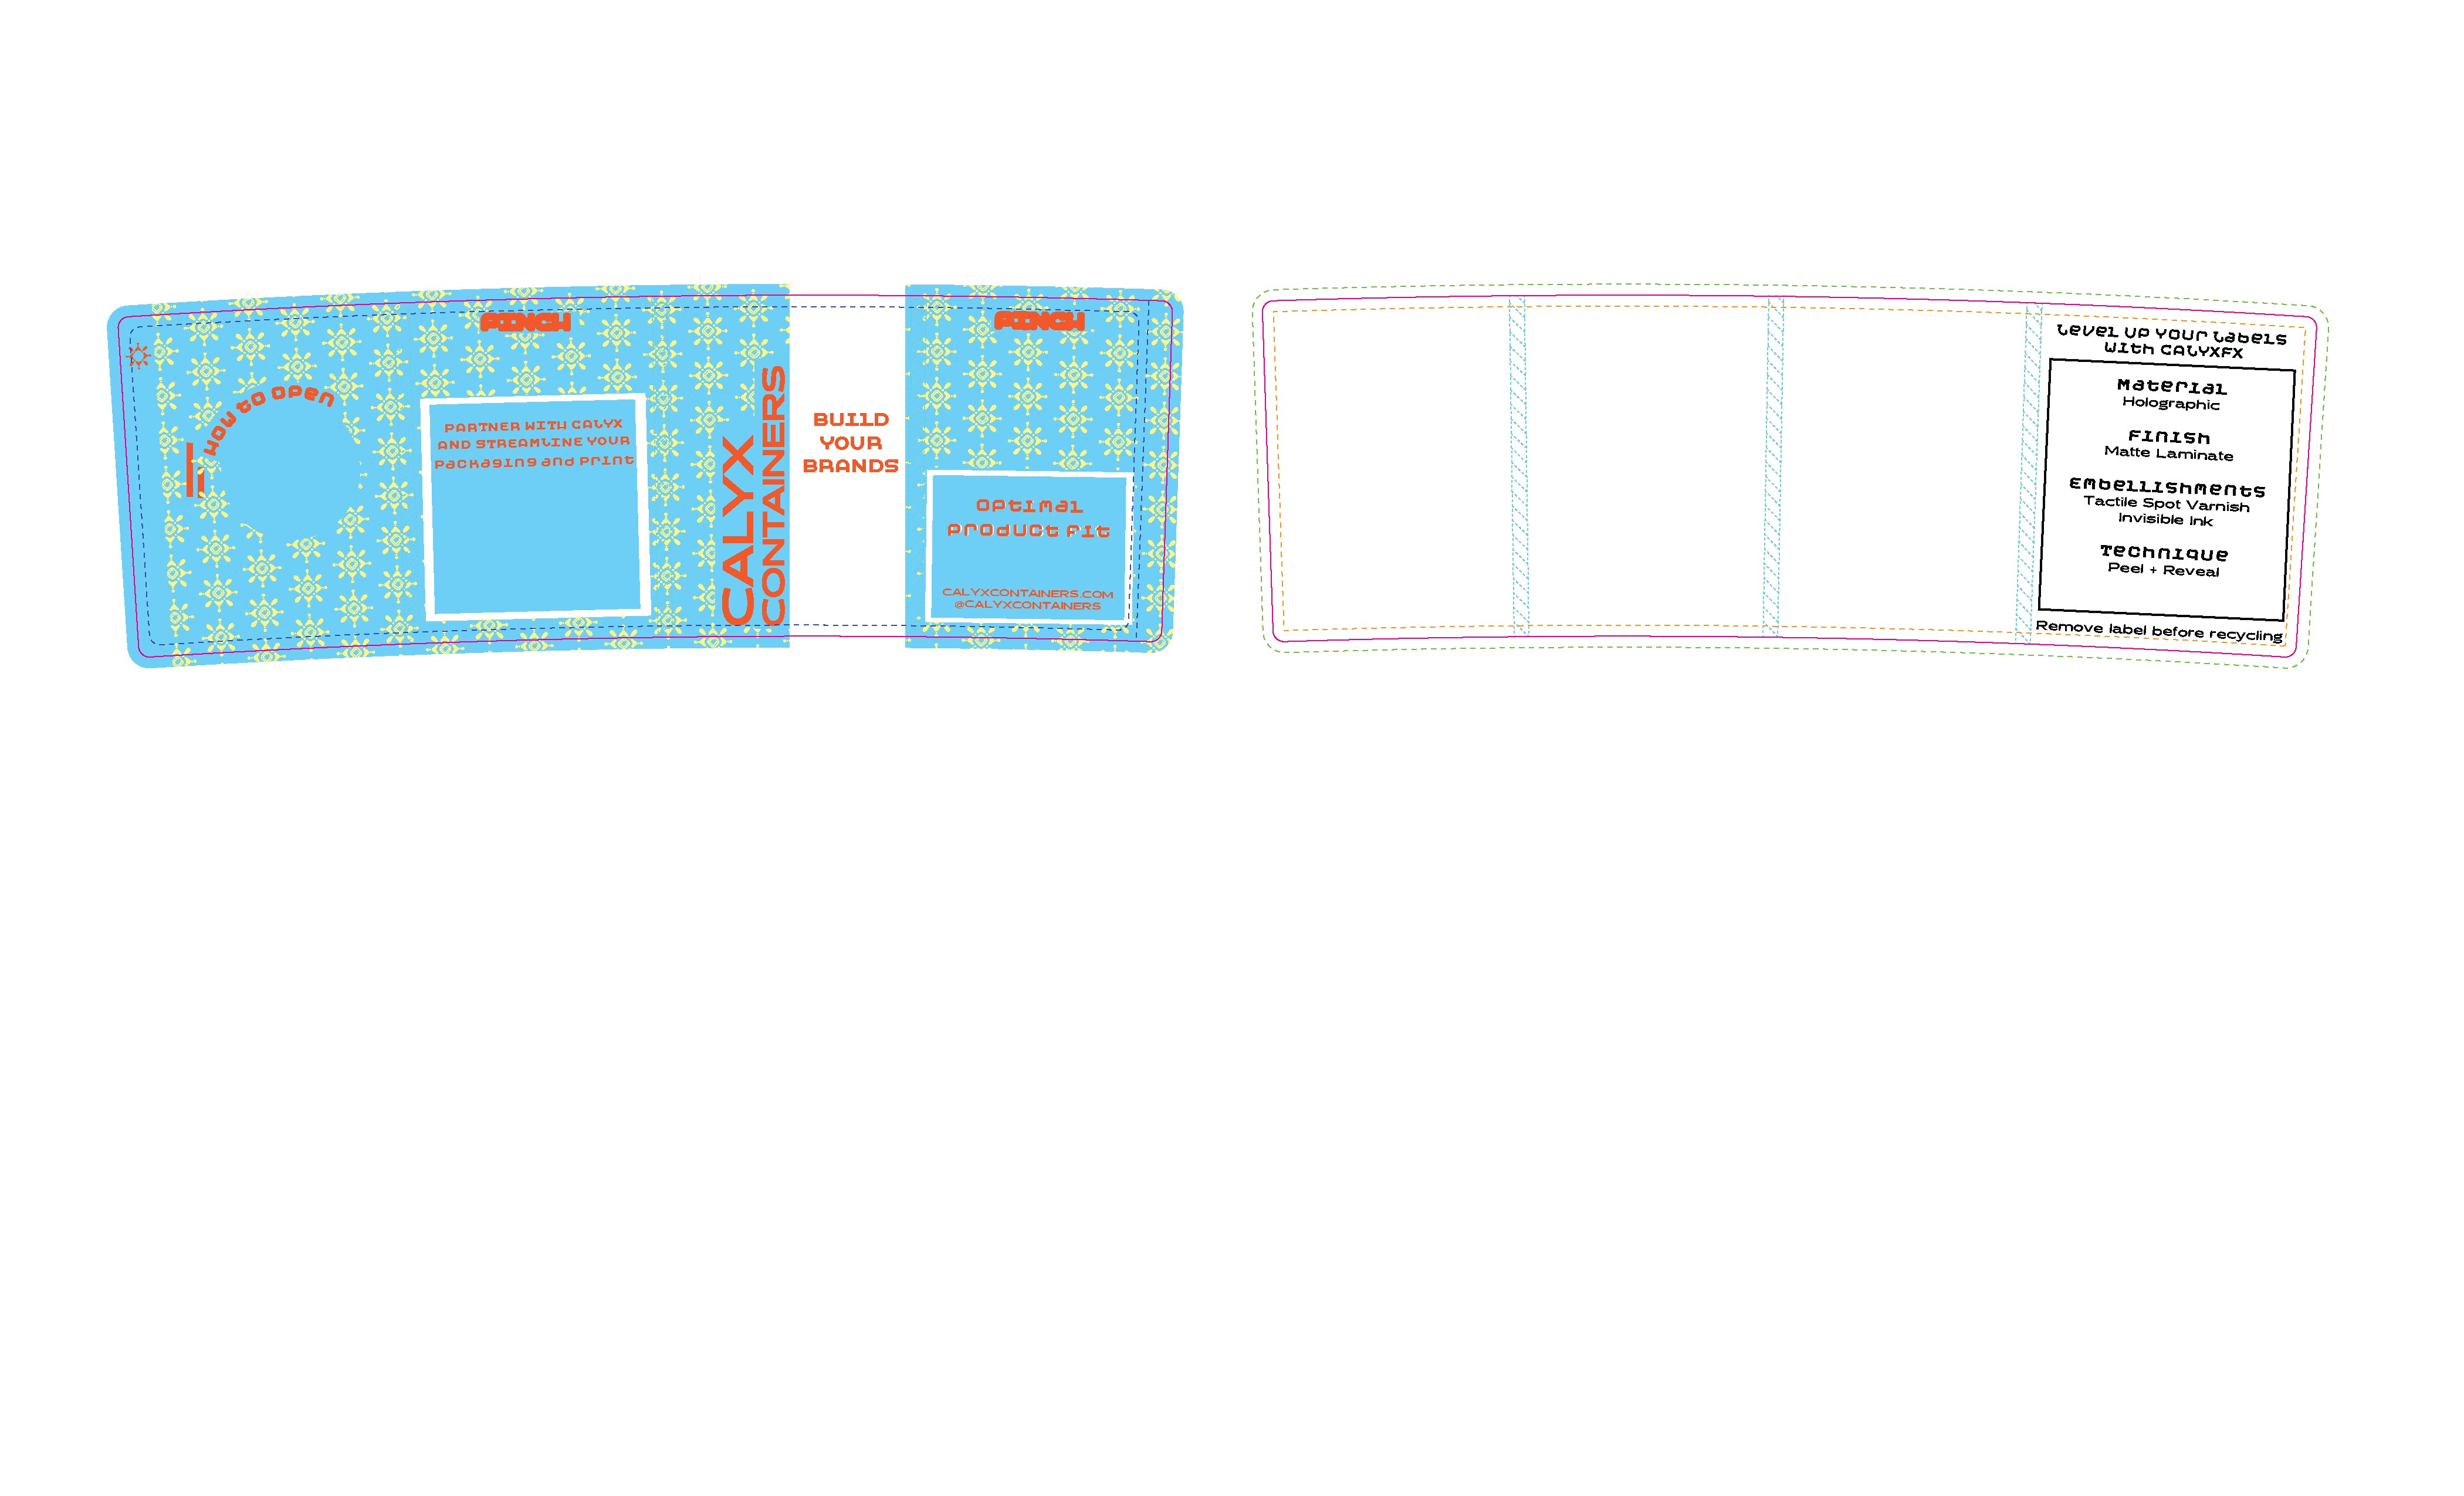
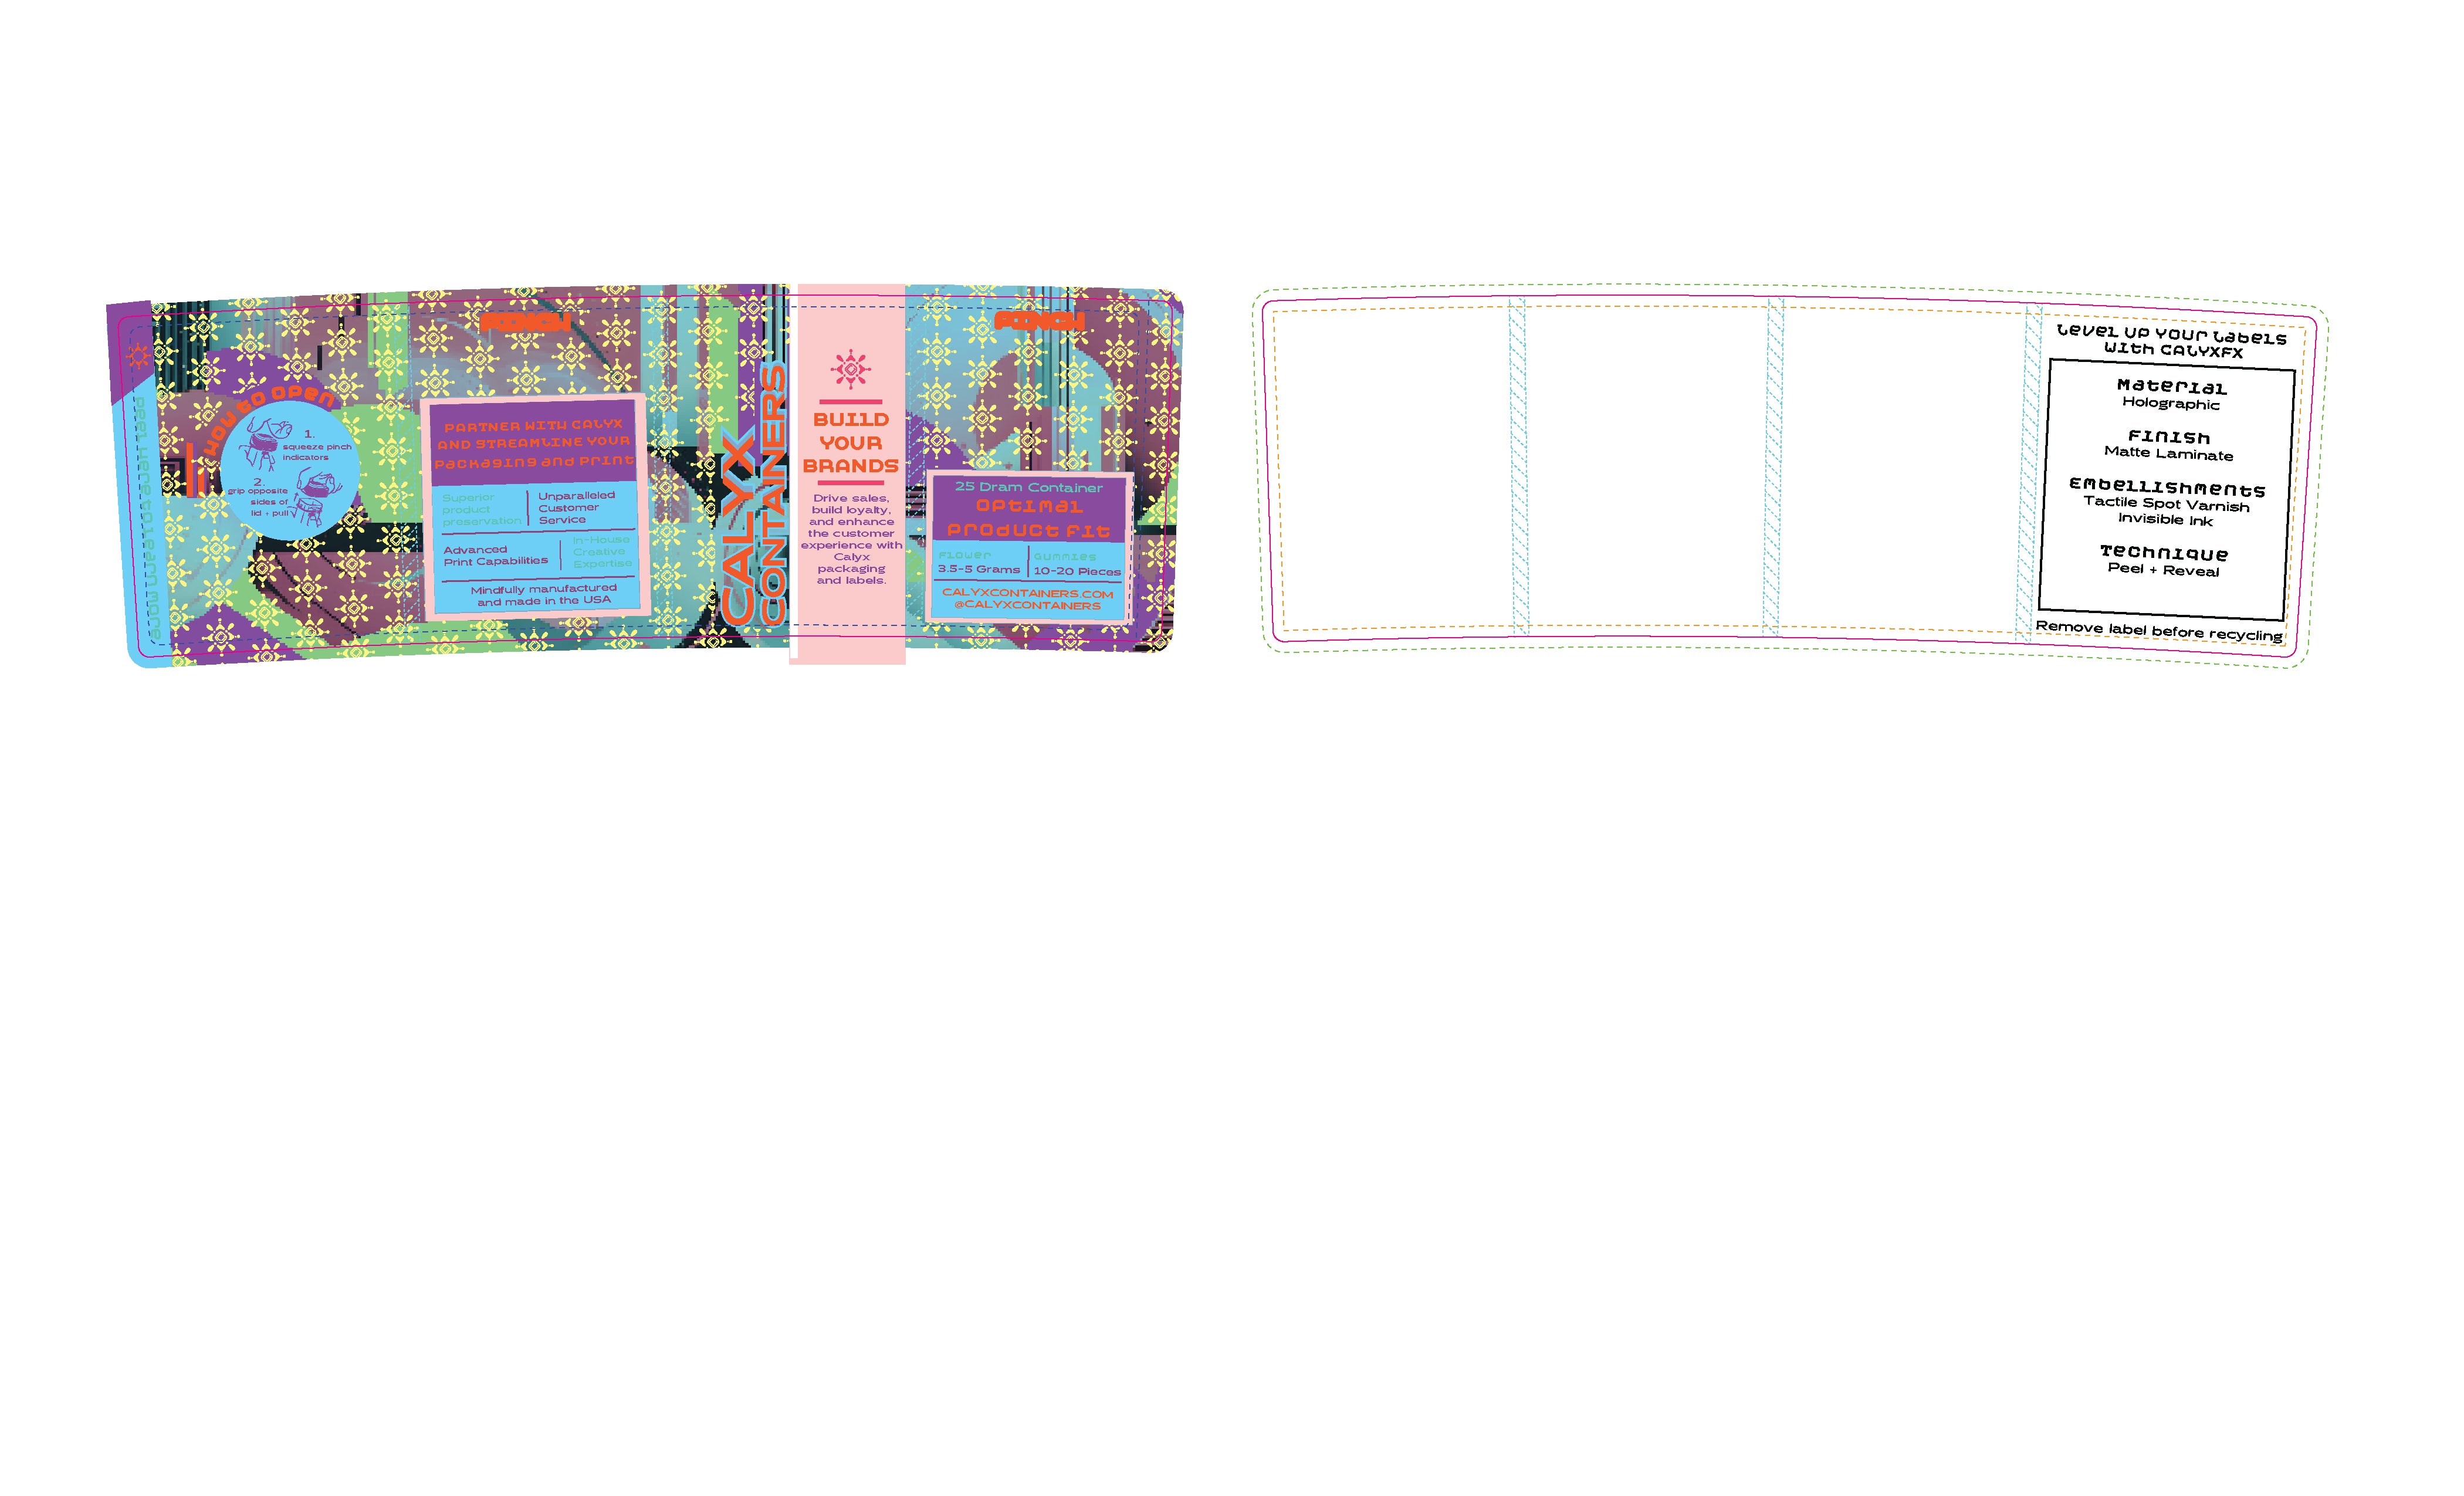
Design & Submission Guide
⬇ File Set Up
➤ Can I combine designs into 1 file?
No, please use the dieline template to create a unique file for every label you are designing. Do not include multiple designs in one file.
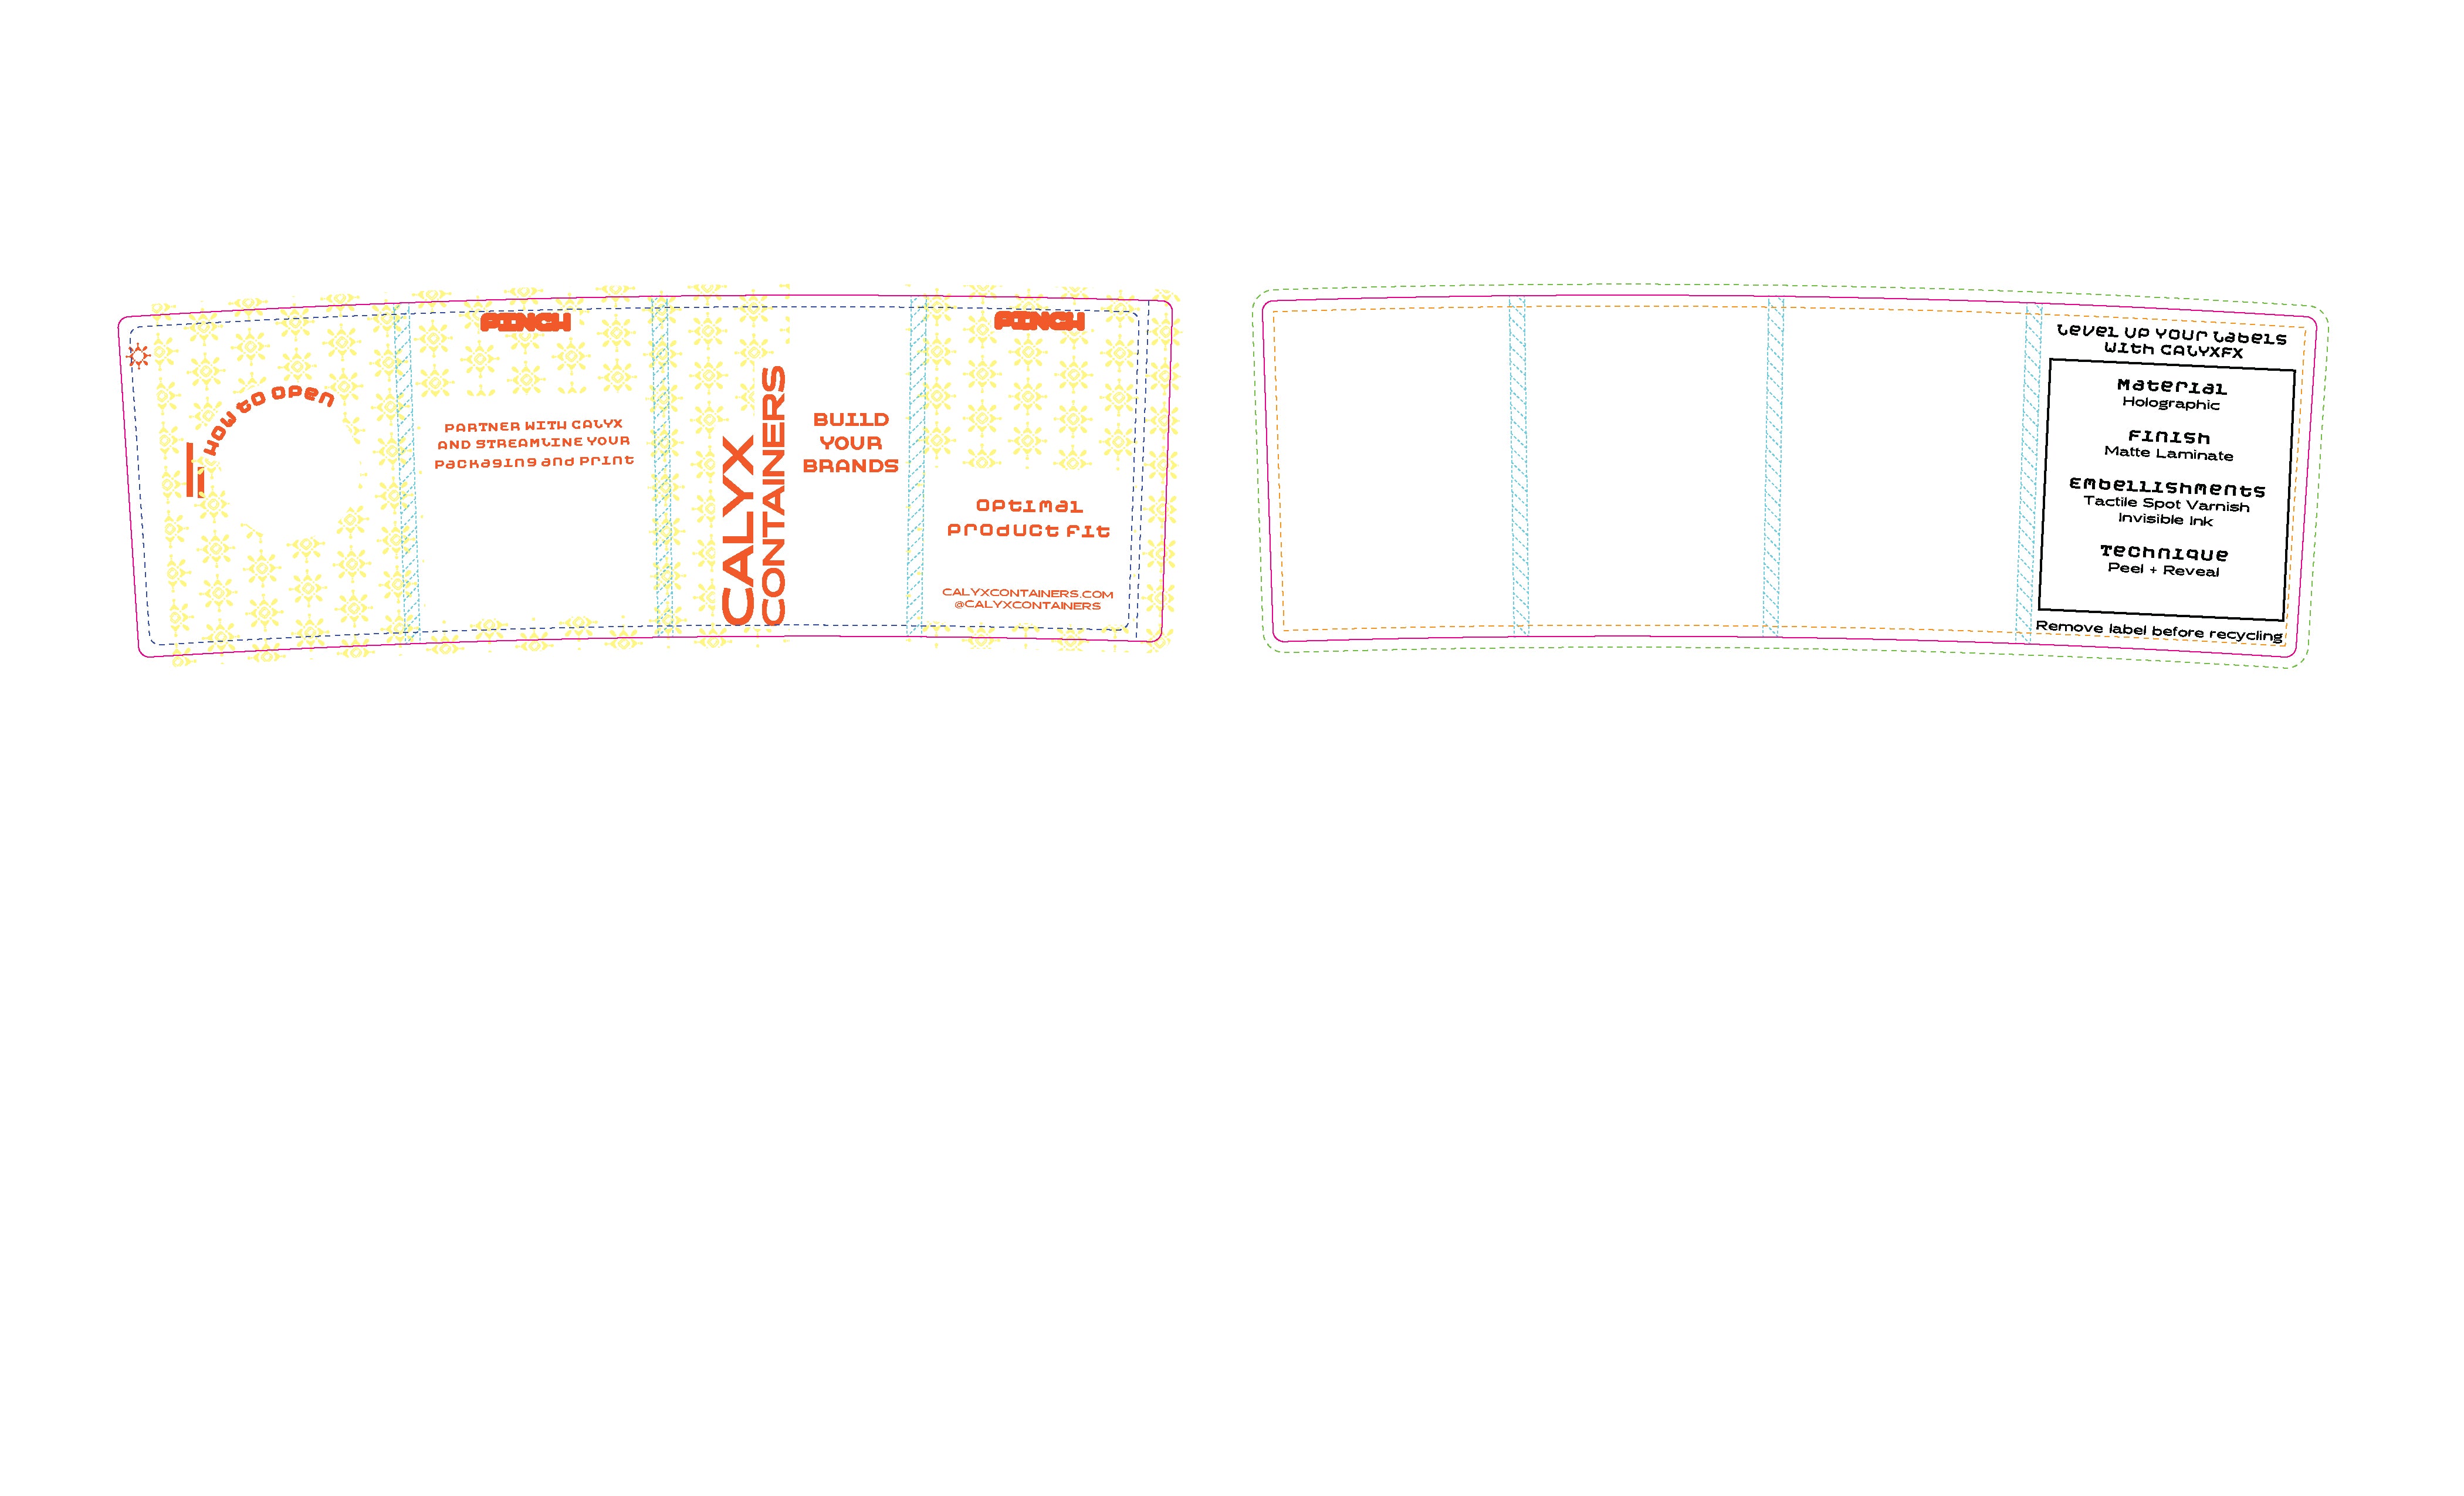
➤ Can I adjust the “Pinch” on Calyx Dram Dielines?
The position of the “PINCH” must not be moved. You may modify the style and typeface of this content. Unlock the Art layer to edit.
➤ What color mode should be used?
Document Color Mode must be in CMYK, not RGB.
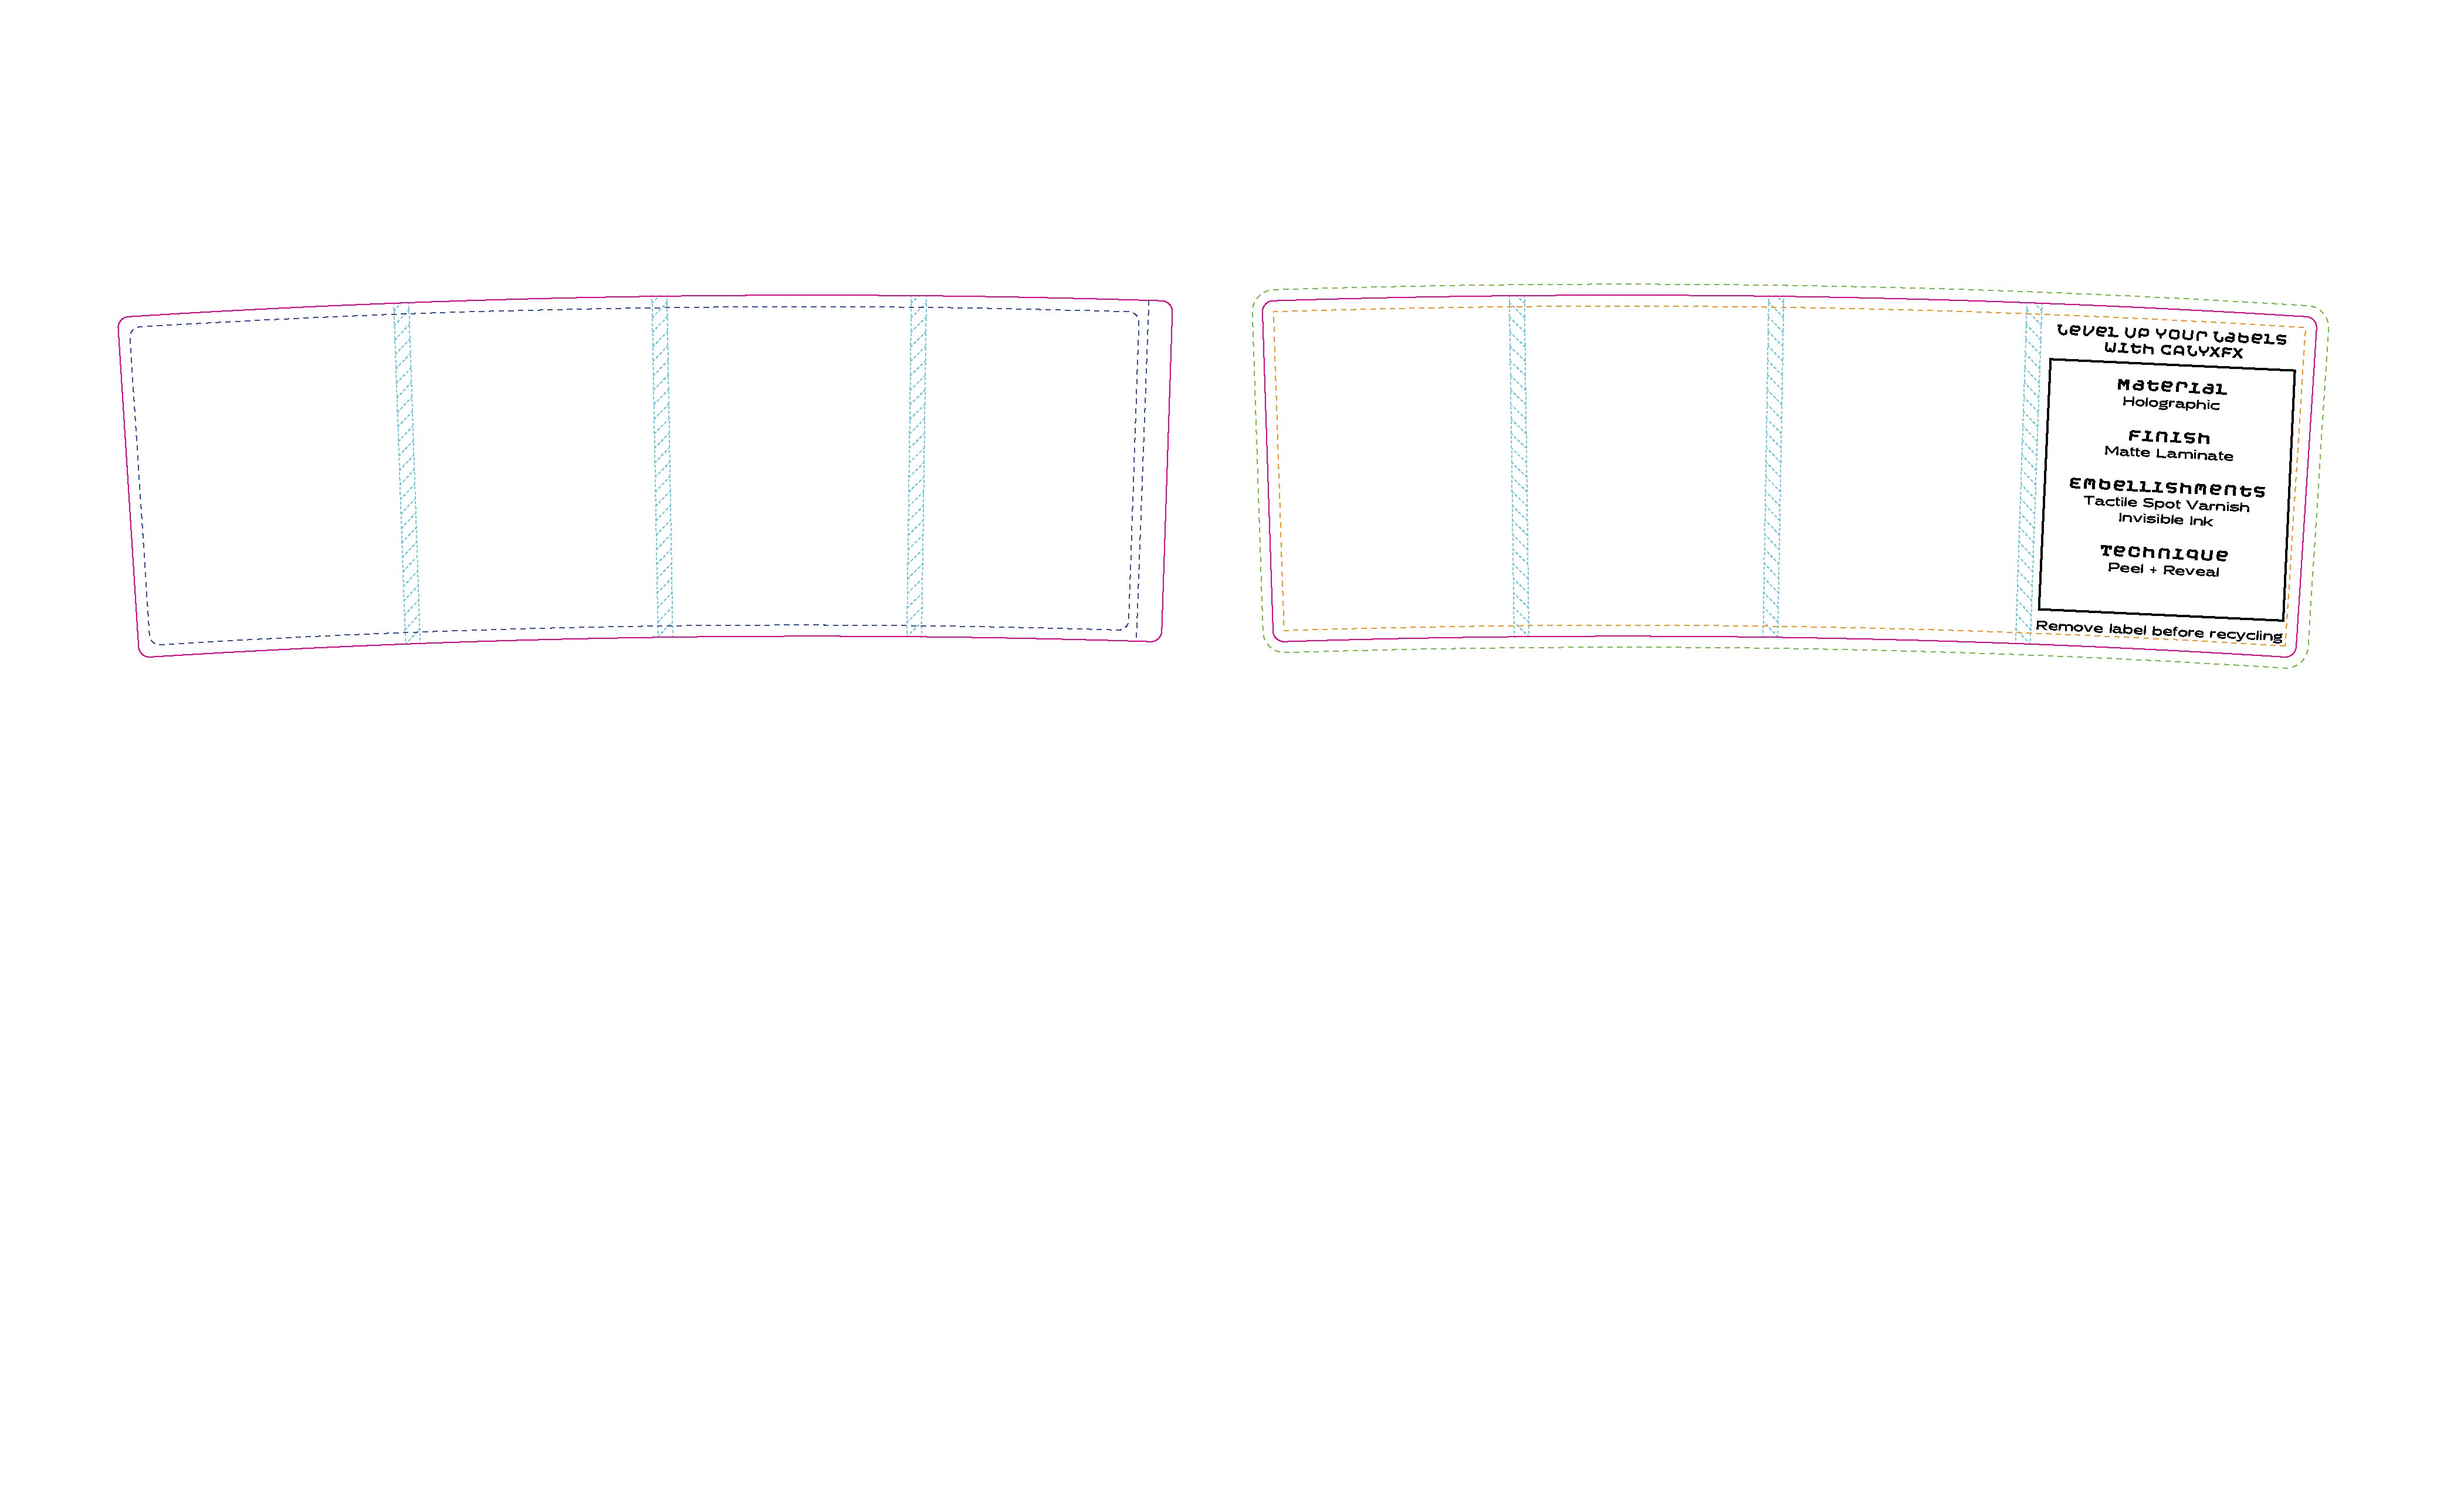
➤ What layer should the art be placed in?
All content and art must be placed on the “Art” layer, except for Special Effects Layers. Do not design or move anything in the “Guidelines” layers.
➤ Can I use an online tool to help edit my art file?
No. Use commercial vector programs like Adobe Illustrator or Affinity. Free tools alter the source file and are not compatible.
➤ Is Vector Artwork Preferred?
Yes. It is preferred for all elements with special effects.
⬇ Content
➤ What font size should I use?
Ensure the text is larger than 6pt. Text smaller may be illegible when printed.
➤ What stroke size should be used?
Strokes should be ≥0.5pt. For Tactile Varnish, ≥1pt.
➤ Will Calyx review and edit all regulatory compliance information?
No. Customers are responsible for compliance based on their state.
➤ Does the orientation of text on the dieline matter?
Yes. Follow the angle noted in gray above each panel. It may differ for multi-panel content.
⬇ Embellishments
➤ What is the Opaque White Separation?
Used under non-clear/metallic areas. Create shapes on a layer named “White” and color them with the OpaqueWhite swatch.
➤ How do I set up a peel & reveal label?
Design within the “Peel + Reveal” layer. Use PnR Pantone 402 C or PnR Black depending on substrate. Place content near the dotted P+R area line.
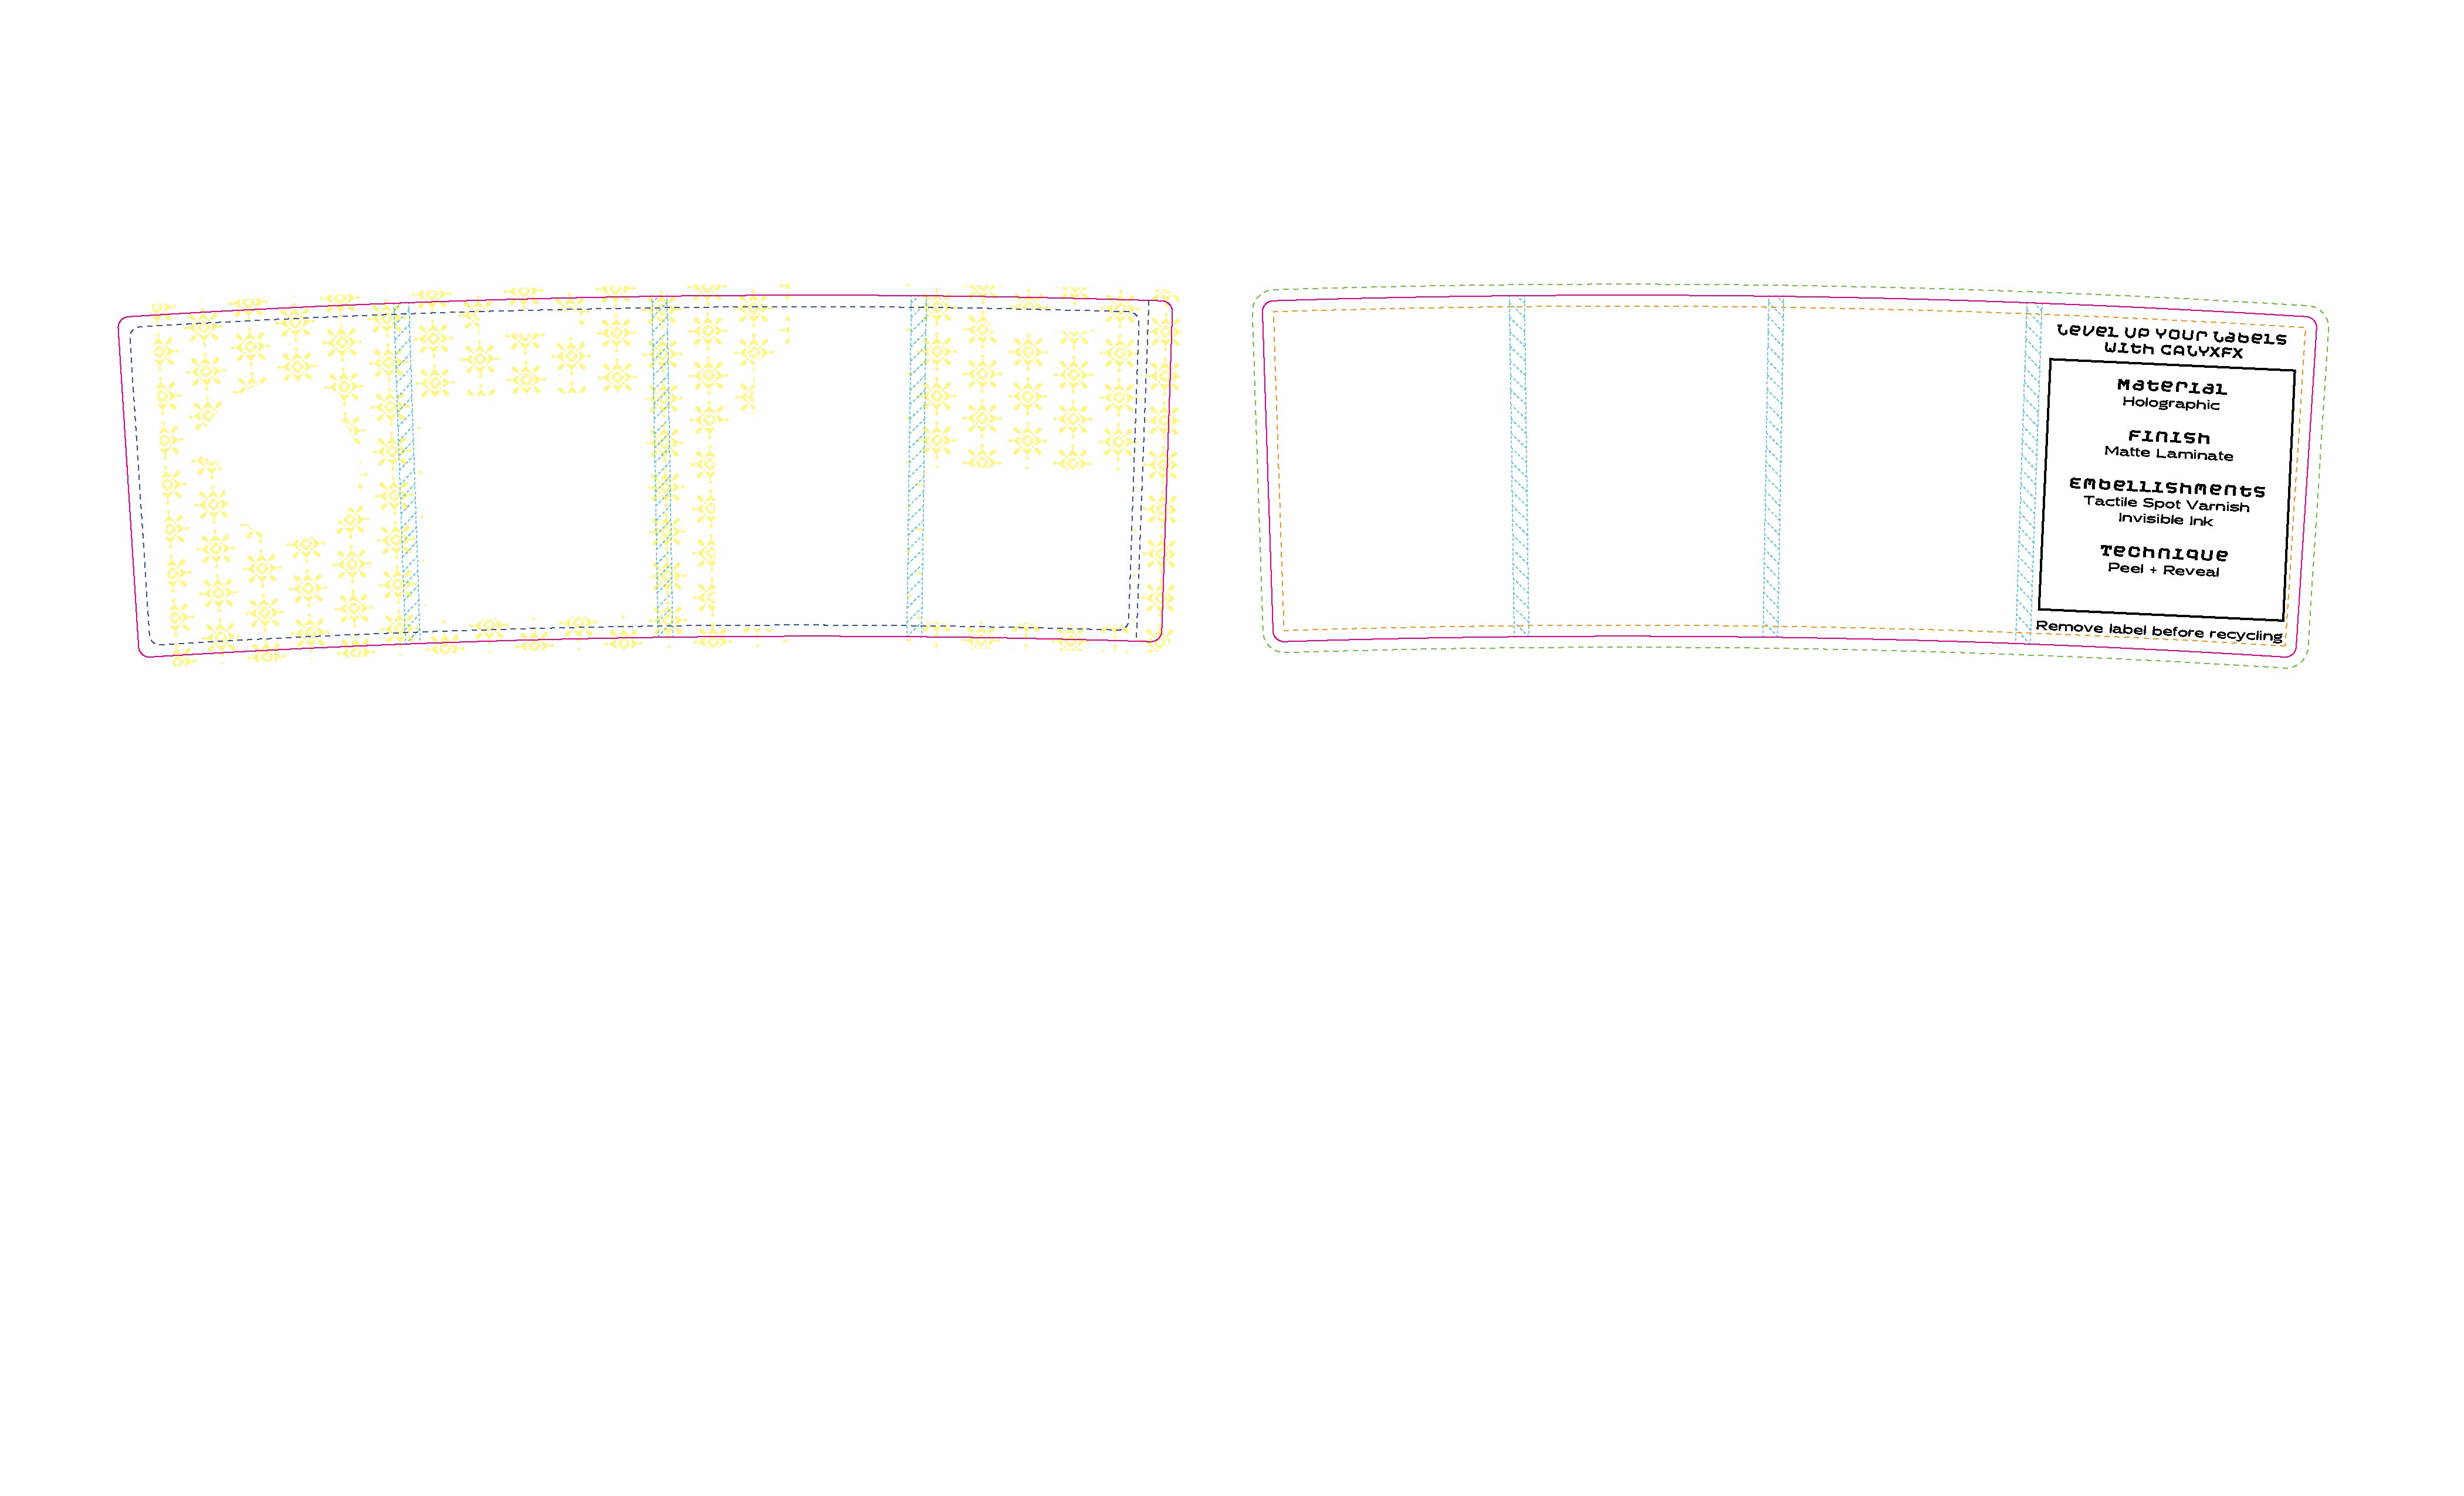
➤ How do I set up Spot Varnish?
Use correct swatches and layers for Flat or Tactile Varnish. Ensure shapes are on their own layer named after the effect.
➤ When would I use spot varnishes?
For visual contrast on matte background. Tactile = raised. Flat = smooth gloss.
➤ How do I set up Spot Foils?
Design within the “Foil” layer. Use DigitalFoil swatch only. Avoid exact registration. List of foil colors: Silver, Gold, Blue, Green, Red, Holographic Rainbow.
➤ What is sandwich printing?
Prints art on back side of clear label. Requires mirrored dieline and separate "Art 2" layer. No special effects supported. Slight cost premium applies.
➤ What are Specialty Inks?
Includes ThermoChromic, Photochromic, Invisible Yellow, Fluorescent Pink, ECG colors. Requires specific swatches and sometimes art review.
⬇ Prepare to Send
➤ How should I send my files?
Package .ai dielines via File > Package. Zip all assets and name like: Company_MMYYYY. Include fonts for live text.
➤ Do I need to outline text?
Yes, or include the font files.
➤ What if my file is too large to send via email?
Request an upload link from your Calyx sales rep.

Start with the Right Dieline
Choose the dieline that matches your product to build your artwork on the correct structure.